
はじめに
Synology NASで運用しているWordPressのデータバックアップ方法です。
今回は、プラグインを使用しない方法です。

WordPressのデータのバックアップは、
- サーバーにあるファイル類
- データベース
の2つのバックアップが必要です。
サーバーにある、ファイル類をフォルダごとバックアップ
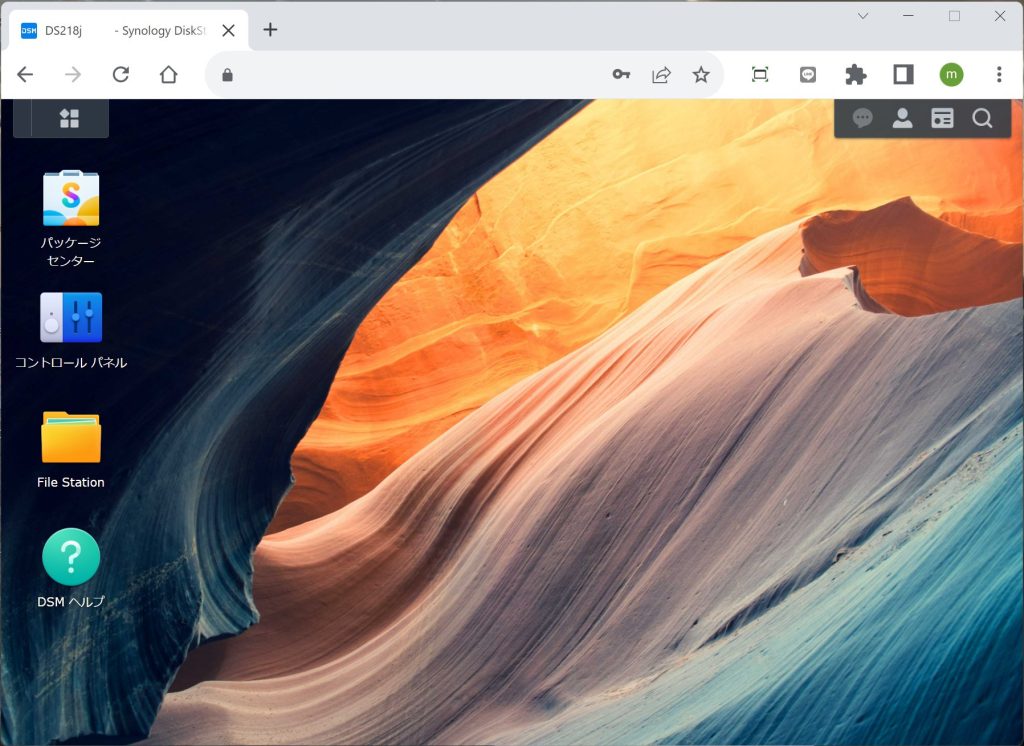
Synology NAS のDSMにログイン
フォルダごとダウンロード
デスクトップ画面から
File Stationを開く

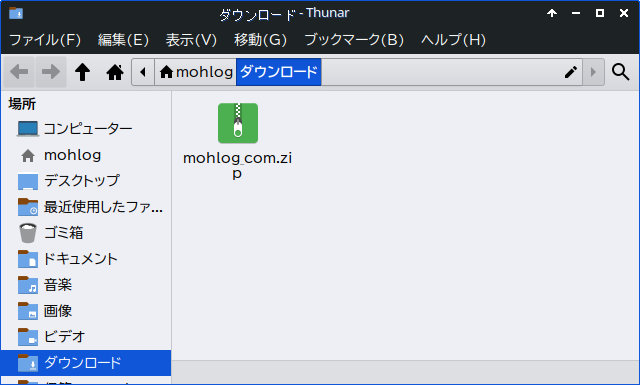
目的のWordPressフォルダを右クリックー「ダウンロード」

Webブラウザで設定されているダウンロードフォルダに、zip圧縮された形でダウンロードされます。
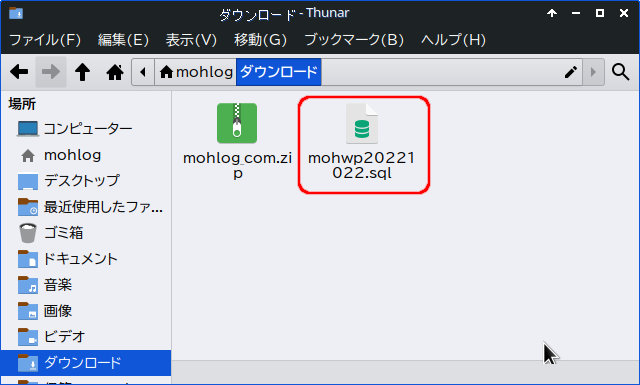
データベースのバックアップ
こちらの記事を参照ください

まとめ
これら2つのデータを保管しておけば、なにかあったときに復旧が可能です。
プラグインを使う方法が簡単ですが、プラグインがうまく動かない時に参考にしてください。


コメント